Keeping a praying mantis healthy and comfortable starts with the right enclosure. Building a custom acrylic mantis enclosure allows for precise control over ventilation, visibility, and access, tailored specifically to a mantis’s needs. Many hobbyists choose acrylic for its clarity and ease of cleaning, making it a practical choice for both display and maintenance.
With a few essential tools and materials, anyone can construct a safe and attractive home for their mantis. Custom enclosures also let keepers design unique features, such as front-opening doors or built-in feeding ports, that improve care and reduce stress for the insect.
Understanding the Needs of Mantises
Mantises have precise housing needs that directly affect their health and behavior. Acrylic enclosure design should reflect species differences, environmental conditions, and safety considerations for optimal care.
Species-Specific Enclosure Requirements
Different mantis species have unique preferences for space, ventilation, and climbing surfaces. Hierodula membranacea requires vertical space for molting, so a tall enclosure is necessary. In contrast, Gongylus gongylodes may benefit from more horizontal room due to its twig-like movements.
Temperature and humidity tolerances also vary. Tropical mantids often need higher humidity and warmer temperatures compared to arid species. Use the table below to compare two common species:
| Species | Min Temp | Max Humidity | Preferred Enclosure |
|---|---|---|---|
| Hierodula membranacea | 22°C | 60-80% | Tall, with strong mesh lid |
| Sphodromantis lineola | 24°C | 50-60% | Medium, vertical space |
Some species are more territorial or aggressive, so single housing is usually recommended.
Environmental Considerations
Temperature, light cycles, and humidity all need to be controlled for mantis wellbeing. Acrylic helps maintain stable conditions but must include adequate ventilation to prevent mold and bacterial growth. Substrate choice, such as paper towel or coconut fiber, also impacts moisture retention and cleanliness.
Humidity is manipulated with misting, water dishes, or substrate moisture. Install thermometers and hygrometers for monitoring. Bright but indirect lighting supports natural behavior and healthy development. Direct sunlight should be avoided because acrylic can magnify heat and stress the insect.
Use plant materials or artificial decor to provide perches and hiding spots. This mimics mantis natural habitats and reduces stress.
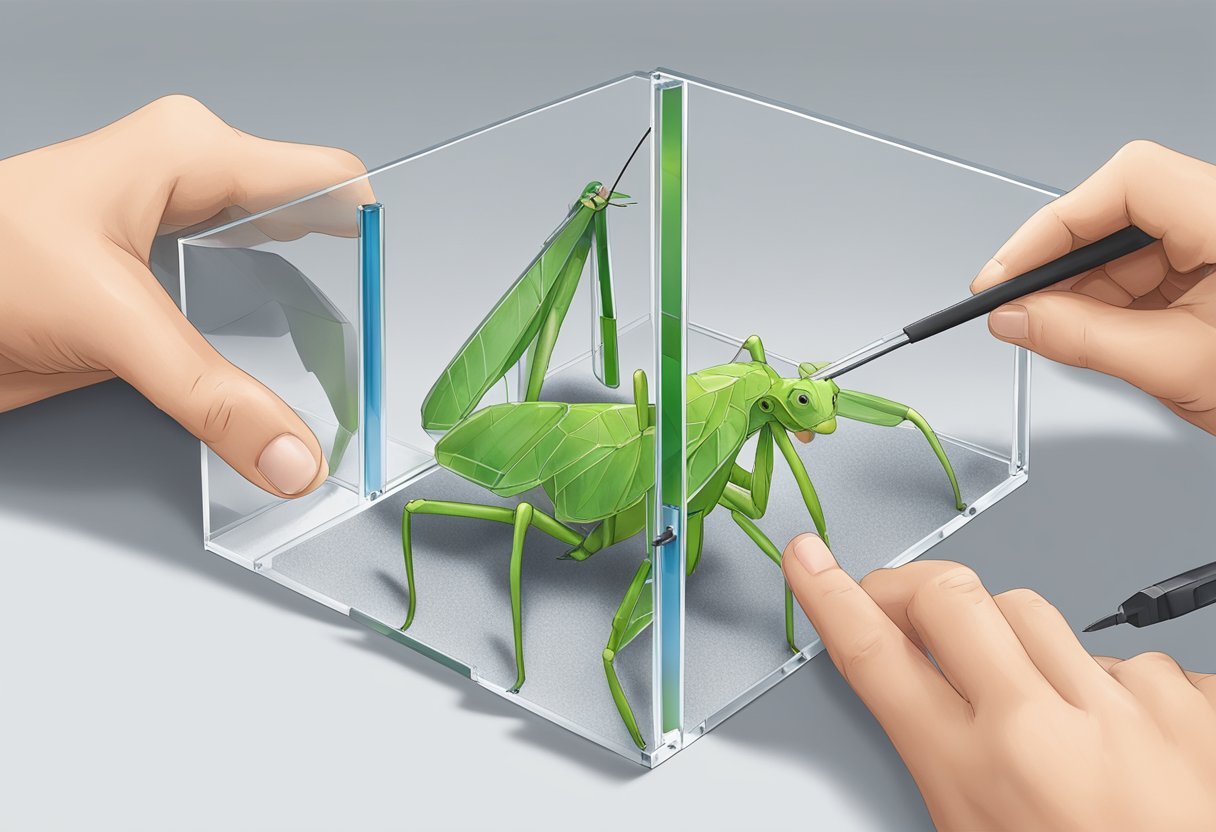
Safety and Comfort Factors
Sharp edges, gaps, and improperly secured panels in acrylic enclosures can injure mantises or allow escape. All joins should be tightly sealed with non-toxic adhesives. Ensure any ventilation holes are small enough to prevent escape but large enough for air flow.
Avoid using loose decorations that could trap limbs or interfere with molting. Cleaning is essential. Removable panels or lids simplify access for safe maintenance.
Ventilation should always exceed the minimum required for the species, particularly to prevent stagnant air. Consistent environmental conditions, secure construction, and gentle handling during cleaning are critical for mantis safety and comfort.
Planning the Custom Acrylic Enclosure
Proper planning sets the foundation for a safe, functional, and appealing mantis habitat. Consideration of size, acrylic type, and usability ensures the enclosure meets the needs of both the mantis and the keeper.
Selecting the Right Dimensions
Choosing optimal dimensions depends on the mantis species, its size, and its behavior. Most mantises benefit from vertical space rather than horizontal area because they climb and molt hanging upside down. A common guideline is that the height of the enclosure should be at least three times the length of the adult mantis.
For example, a mantis that reaches 10 cm (about 4 inches) will require an enclosure at least 30 cm high. Width and depth should each be no less than the mantis’s full length. Extra space can help with visual enrichment and ease of maintenance, but oversized enclosures can make prey capture more difficult for young mantises.
To summarize:
| Mantis Size (cm) | Minimum Height | Minimum Width/Depth |
|---|---|---|
| 4–7 | 20–25 cm | 6–7 cm |
| 8–12 | 30–40 cm | 8–12 cm |
Choosing Acrylic Material Grades
Acrylic sheet quality impacts durability, clarity, and safety. Cast acrylic is usually recommended over extruded acrylic, as it offers greater strength and resists cracking during cutting or drilling. Cast acrylic also remains clearer over time and is less prone to warping.
Opt for acrylic with a thickness of at least 3 mm (1/8 inch) for enclosures up to 30 cm tall. For larger enclosures, use 4–5 mm (3/16 inch) to prevent bowing. Thicker panels provide strength but add weight—balance these factors based on enclosure size.
Choose panels with smooth, finished edges to avoid sharp surfaces that can injure the mantis or the keeper. Acrylic sheets should be free of chips or cracks for best safety and long-term use.
Designing for Access and Ventilation
Access features should allow for easy feeding, cleaning, and observation. Common options include hinged front doors, sliding tops, or removable panels. Secure latches prevent accidental escapes. Consider placement of access points so the mantis cannot easily dart out when opened.
Ventilation is necessary to prevent mold and ensure fresh airflow. A well-designed enclosure uses fine metal mesh panels or drilled ventilation holes on opposite sides for cross-ventilation, reducing humidity buildup. Mesh size should be small enough to keep fruit flies and other feeder insects inside.
Position ventilation areas away from where water will drip to minimize mess. Avoid placing vents near climbing or molting spaces where airflow could disturb the mantis during sensitive activities.
Gathering Tools and Materials
Building an acrylic mantis enclosure requires both the proper materials and the right tools to ensure safe assembly and a quality final product. Selecting supplies designed for aquarium and terrarium use improves durability and insect safety.
Essential Building Supplies
Acrylic sheets form the main structure of the enclosure. For most mantis species, 3mm or 4mm thick clear acrylic is suitable, ensuring both visibility and strength. Panels can be bought pre-cut or trimmed to specific dimensions at home or by your supplier.
Ventilation is crucial. Fine stainless-steel mesh or pre-cut acrylic strips can be used to make vent openings. Aquarium-safe silicone or acrylic cement is needed to bond the panels. Some keepers opt for black acrylic for specific sections to reduce stress or create visual barriers.
List of key supplies:
| Item | Purpose |
|---|---|
| Clear acrylic sheets | Walls, floor, and roof |
| Stainless steel mesh | Ventilation panels |
| Acrylic solvent cement | Panel bonding |
| Aquarium-safe silicone | Sealing and additional support |
| Hinges or magnetic latches | Door or lid access |
Cutting templates or masking tape help mark straight edges for accurate assembly.
Recommended Tools for Acrylic
Cutting and joining acrylic demands specific tools for clean, safe, and accurate work. A fine-tooth acrylic saw or scoring knife is essential for straight cuts. For smoother edges, a hand file or fine sandpaper can remove burrs after cutting.
Acrylic-specific cement applicators, such as syringe bottles or capillary applicators, ensure glue is applied only where needed, reducing mess and risk to the enclosure’s clarity. Clamps are useful to hold panels in place while the adhesive sets.
For ventilation, drill bits designed for plastic prevent cracking when making mesh openings. A ruler, measuring tape, and a soft pencil help maintain accurate sizing and square corners. It’s advisable to work in a clean and dust-free environment to avoid scratching the acrylic during handling and assembly.
Building the Enclosure Structure
Building a secure and functional enclosure starts with accurate measurements and careful material preparation. Stable joints, precise panel sizes, and a well-designed access system all ensure a durable and accessible mantis habitat.
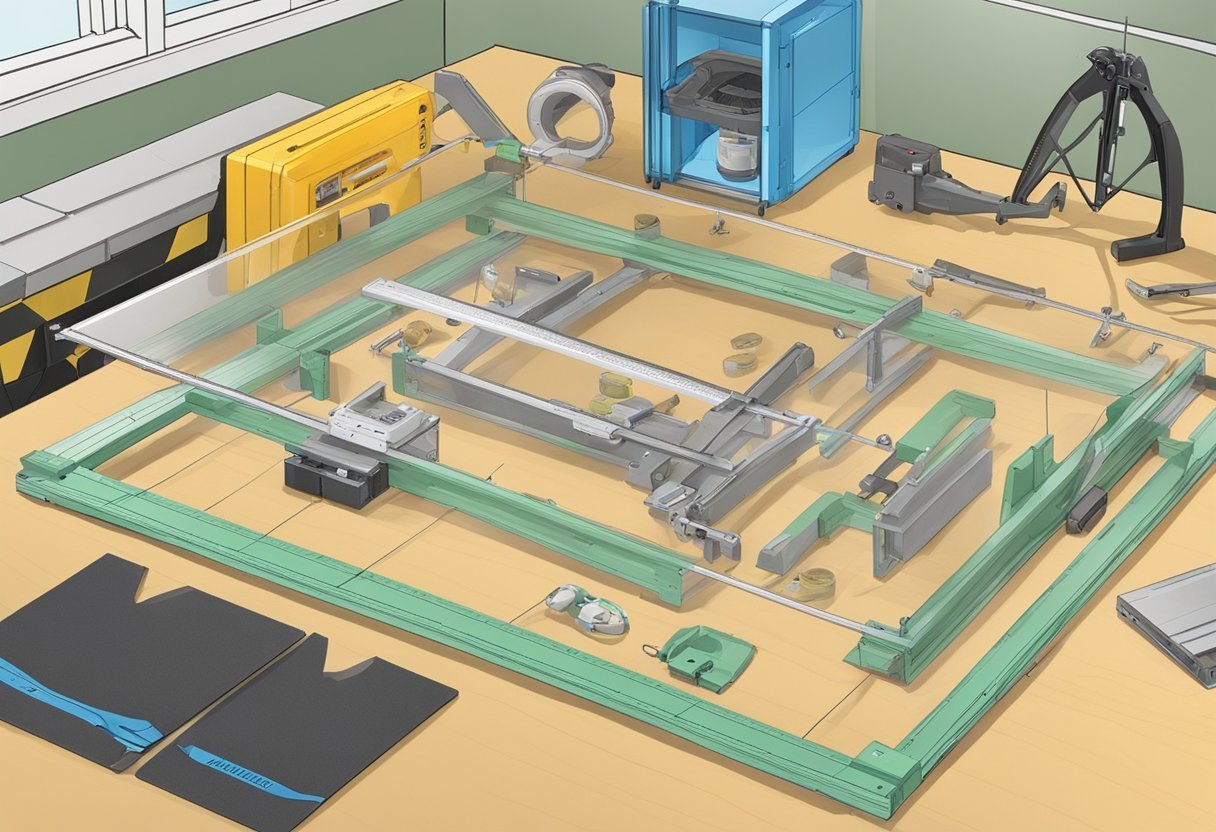
Measuring and Cutting Acrylic Panels
Begin by selecting an acrylic sheet thickness of at least 3 mm for small enclosures or 5 mm for larger builds. Measure length, width, and height based on the species’ adult size and climbing behaviors. Double-check all dimensions using a carpenter’s square to keep edges perfectly aligned.
Cut acrylic panels using a scoring knife for thin sheets, or a circular saw with a fine-tooth blade for thicker sizes. Score along a straightedge, snap cleanly, or saw slowly to avoid melting edges. After cutting, gently sand the edges to remove sharpness and burrs so panels fit together smoothly.
Label each piece with masking tape and a marker to keep assembly organized. Having all panels clearly identified prevents mistakes during joining. Take extra care with the front and top openings since these will accommodate doors or access lids.
Joining and Securing Panels
To join acrylic panels, use either solvent cement (like Weld-On 4) or acrylic adhesive. Clean all surfaces with isopropyl alcohol before assembly to improve bond strength and appearance. Position panels at right angles with the help of corner clamps or a small jig.
Apply adhesive sparingly along the seams, allowing capillary action to draw it between the panels. Hold pieces together firmly but gently for at least 2–5 minutes until the bond sets. For added strength, reinforce inside right-angle joints with slim acrylic corner brackets or thin bead fillets.
Let the adhesive cure undisturbed for at least 12–24 hours according to the product instructions. Test each joint by gently pressing on the panels—weak bonds can lead to leaks or collapse. Ensure the base is fully level and all vertical panels sit flush for optimal stability.
Creating Doors and Lids
For front doors, cut a smaller panel to fit within a routed-out opening on the main face. Hinge this panel using mini acrylic or plastic hinges, securing them with small screws or a two-part adhesive—avoid metal that might corrode in humid conditions. Use magnetic or sliding latches to keep doors closed securely.
If a top lid is preferred, cut the main piece to rest snugly on a lip or frame inside the enclosure. Add ventilation holes using a drill or rotary tool; cover these with fine stainless steel mesh, attached with hot glue or silicone suitable for acrylic. Provide a handle or knob for convenient lifting.
All access points should be large enough for maintenance but not so big as to risk escapes. Always smooth the cut edges and check for gaps larger than 2 mm, which could allow small mantises or feeder insects to slip through.
Enhancing Ventilation and Humidity Control
Proper ventilation and stable humidity are critical for maintaining mantis health and behavior. Acrylic enclosures need specific adjustments to balance airflow without excessive dryness.
Installing Ventilation Panels
Ventilation panels help keep air circulating and prevent mold. Many builders use aluminum mesh or fine stainless-steel mesh for panels. Mesh with 0.5 mm holes deters tiny mantis nymphs from escaping while providing adequate airflow.
Panels are usually installed on two opposite walls, or on the lid, to create cross-ventilation. Secure the mesh with non-toxic glue or rivets. Avoid plastic mesh, as mantises may chew through it.
Tip: For a 30 x 20 x 20 cm enclosure, at least 50–80 cm² of combined vent area works well. Cover the edges of the mesh with acrylic strips to prevent injury.
Humidity Regulation Solutions
Maintaining humidity between 50% and 70% is suitable for most mantis species. Install a small, shallow water dish to add moisture to the air. Misting one enclosure wall with dechlorinated water every 1–2 days also helps.
Consider using substrate options like coconut fiber or sphagnum moss at the bottom. These retain water and release it slowly, supporting humidity with less frequent misting. A digital hygrometer gives precise readings.
Do not block vents with substrate, as this can reduce airflow. Adjust misting frequency depending on the local climate and mantis requirements, checking the hygrometer to stay within the recommended range.
Ensuring Accessibility and Safety
Proper design keeps a mantis enclosure both accessible for care and secure against escapes. Ventilation holes, door placement, and secure fastenings are critical for both routine maintenance and the safety of the mantis.
Safe Openings for Maintenance
Openings should allow caretakers easy access to feeding areas and cleaning zones without stressing or injuring the mantis. For most enclosures, a front-facing or top-hinged door—fitted with a snug latch—is ideal for quick, controlled access.
Removable lids or panels need to align precisely with the enclosure frame. If using sliding doors, tracks must be smooth and narrowly spaced to prevent injury. Avoid gaps exceeding 2mm that small mantids or feeders could slip through.
When designing feeding ports, use rubber gaskets or silicone seals around openings to further limit escapes. An effective setup is shown in the table below:
| Feature | Purpose | Recommendation |
|---|---|---|
| Hinged Doors | Cleaning and feeding | Tight seal, easy access |
| Sliding Panels | Space efficiency | Narrow, smooth tracks |
| Feeding Port | Add food without opening | Seal with gasket/silicone |
Escape-Proof Features
Mantis hatchlings and nymphs exploit even the tiniest gaps. Secure all edges with acrylic bonding cement to seal joints fully. Ventilation holes should be no wider than 1.5mm for nymphs, and mesh materials should be stainless steel to resist chewing and rust.
Magnetic or clip locks on doors prevent both accidental and intentional openings from curious pets or children. Corners and joints must be checked regularly for warping, since acrylic can slightly bend over time, widening gaps.
Install strips of weather-resistant foam along door frames to improve the seal and add redundancy. Accessories like feeding tubes or misting holes should have tightly closing caps or flaps that snap or screw in place when not in use.
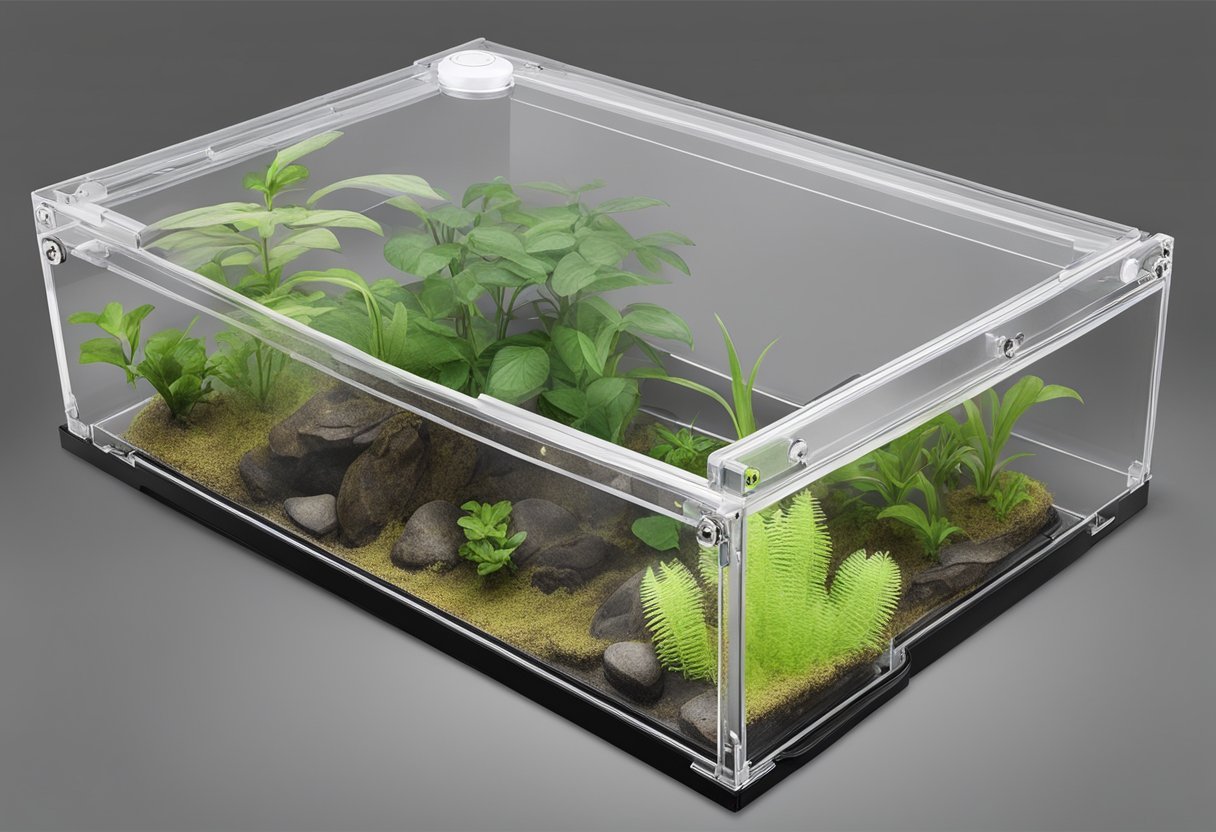
Interior Setup and Decoration
Proper setup is essential for the health and safety of mantises. The right combination of substrates, climbing structures, and hiding spots allows mantises to explore, hunt, and molt successfully.
Choosing Substrates and Decor
Acrylic enclosures require non-abrasive substrates to avoid injuring delicate legs and body parts. Popular choices include coco fiber, paper towels, or sterilized potting soil. These retain humidity well and are easy to clean or replace. In wetter environments, ensure drainage using a thin layer of gravel beneath the primary substrate to reduce mold growth.
For decor, only use non-toxic plants and branches. Live plants like pothos and spider plants help manage humidity but require light and occasional watering. Artificial leaves, vines, and rocks are low-maintenance but should be secured and free of contaminants. Plastic décor must have no sharp edges.
Common Substrate Options Table
| Substrate Type | Pros | Cons |
|---|---|---|
| Coco Fiber | Holds moisture well | May compact over time |
| Paper Towels | Easy to replace | Low humidity |
| Potting Soil | Natural look | Needs sterilization |
Installing Climbing Structures
Mantises spend much of their lives hanging and climbing, especially during molts. Vertical space is best maximized with securely fixed sticks, branches, or textured plastic surfaces. All items should be cleaned and inspected for parasites or sharp edges before installation.
Natural branches from pesticide-free sources offer a realistic look and allow easy gripping. Use hot glue or aquarium-safe silicone to anchor vertical elements if needed. Mesh, cork bark, or custom-cut acrylic shelves can also create multiple surfaces at various heights, giving mantises ample room to move.
Arrange structures so that no branch or accessory blocks vents or prevents easy access for misting and maintenance. Avoid overcrowding to reduce the risk of falls and ensure enough open space for molting.
Creating Hiding Spots
Hiding places help mantises feel secure and reduce stress. Arrange broad leaves, clumps of fake foliage, or pieces of bark to create rests at different heights. Position hide options away from direct light and avoid cluttering the enclosure, as mantises need open space for movement and molting.
Select materials that are moisture-resistant and don’t break down quickly. Attach hides, if possible, to the walls with non-toxic adhesive so they remain stable as the mantis climbs or hangs. Place multiple hides to accommodate mantises in various enclosure areas but leave visibility for monitoring their health and safety.
Effective hides not only offer cover but support typical behaviors, such as ambush hunting or resting above ground level. Replace or clean hiding spots regularly to prevent mold and pest buildup.
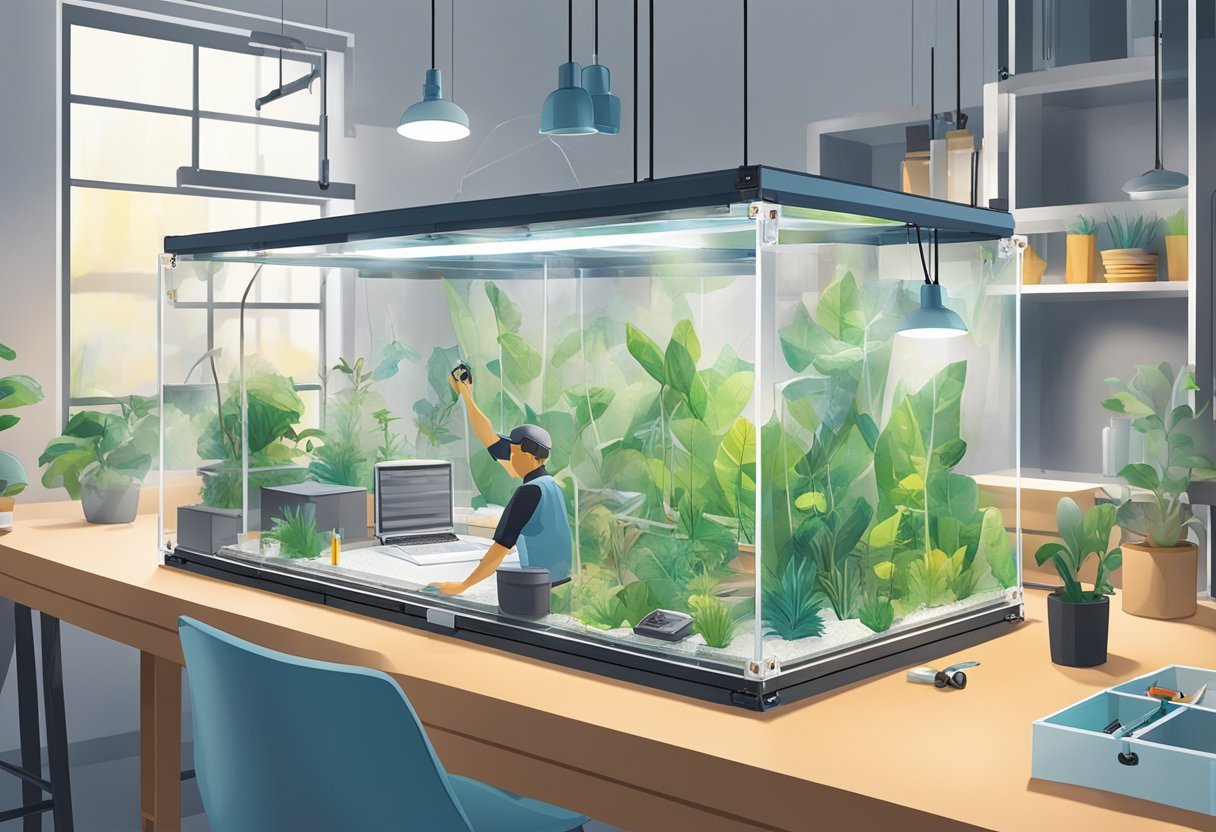
Lighting and Temperature Management
Proper lighting and temperature create a healthy environment for mantis growth and behavior. Both factors require careful planning with attention to the mantis species and the enclosure’s acrylic material.
Selecting Appropriate Lighting
Mantis are diurnal and benefit from a regular day-night cycle. LED lighting is recommended for acrylic enclosures because it produces minimal heat and reduces the risk of warping or cracking. Choose LEDs with a color temperature between 5000K and 6500K, which closely mimic natural daylight.
A photo period of 10–12 hours of light daily helps regulate mantis activity. Avoid placing the enclosure in direct sunlight, as this can lead to dangerous temperature spikes and uneven lighting. UVB lighting is generally not required for mantis, but full-spectrum bulbs can enhance visibility and vegetation if included.
Securely mount light fixtures outside or above the enclosure to avoid direct contact with acrylic surfaces. This prevents accidental melting or damage. LED strip lights can be affixed to the top frame, while compact desk lamps offer flexibility for positioning.
Maintaining Optimal Temperatures
Most mantis species thrive between 22°C and 28°C (72°F–82°F), though this varies slightly by species. Use a digital thermometer to monitor temperatures inside the acrylic enclosure, placing the sensor at mid-height where the mantis spends most of its time.
Heating mats or small ceramic heat emitters are suitable options, but they should not touch the acrylic, as sustained heat can cause distortion. Always situate heat sources externally and use a thermostat to regulate and prevent high temperature fluctuations.
Install ventilation holes or mesh panels to promote airflow and avoid condensation. This helps maintain uniform temperature and prevents mold growth. Regularly check temperature readings at different points in the enclosure, making adjustments as needed to stay within the ideal range.
Maintaining and Cleaning the Enclosure
A clean and properly maintained acrylic mantis enclosure reduces disease risks and keeps the habitat stable. Attention to both daily care and periodic deep cleaning is essential for your mantis’s health.
Routine Care Guidelines
Regular spot cleaning prevents mold, mites, and odor in the enclosure. Daily removal of uneaten food and insect remains is necessary. Use clean tweezers or forceps to extract waste without disturbing the mantis.
Wipe all visible surfaces with a moist, lint-free cloth. Avoid harsh chemicals—use only water or a diluted white vinegar solution if needed. Check the water source and replace it every day with fresh, dechlorinated water.
Maintain appropriate humidity by lightly misting the enclosure with chlorine-free water, but avoid over-saturation. Inspect the enclosure’s ventilation holes for blockages. A simple checklist for routine tasks can help:
| Task | Frequency |
|---|---|
| Remove food remains | Daily |
| Spot wipe surfaces | 2-3 times/week |
| Refresh water source | Daily |
| Mist enclosure | As needed |
Long-Term Maintenance Tips
Thorough cleaning is required every 3-4 weeks to remove biofilm and prevent pathogen buildup. Transfer the mantis to a secure temporary container before starting. Disassemble the enclosure if possible, washing each piece with mild soap and warm water.
Rinse all parts thoroughly to eliminate soap residue, then dry with a soft, non-abrasive cloth to prevent scratches. Inspect seals and joints for mold or damage. If ventilation screens are clogged, gently brush them clean or use compressed air.
Check for cracks or signs of acrylic warping regularly. Replace substrate entirely during deep cleans and never reuse old substrate to reduce contamination risks. Securely reassemble the enclosure and confirm all fixtures are dry before returning the mantis.
Frequently Asked Questions
Selecting the right enclosure size is critical to mantis health and mobility. Material choice, airflow, and regular care keep the habitat safe and comfortable.
What dimensions are ideal for a praying mantis enclosure?
A praying mantis enclosure should be at least three times the height of the mantis and twice its width. For most species, a minimum size of 12” tall by 8” wide by 8” deep is recommended. This allows enough space for molting and climbing.
Which materials are recommended when constructing a DIY mantis enclosure?
Acrylic sheets are the most popular choice due to their clarity and durability. Fine mesh or stainless steel is ideal for creating secure ventilated areas. Use non-toxic silicone sealant for assembly to prevent harmful fumes.
How can I ensure proper ventilation in a homemade mantis enclosure?
ventilation can be achieved by cutting sections for mesh panels on one or more sides of the enclosure. Position mesh areas on opposite sides or on the lid to encourage airflow. Avoid large gaps to prevent escapes or injuries.
What are some suitable decor ideas for a praying mantis habitat?
Branches, thin sticks, and artificial leaves offer climbing opportunities. Use sterilized cork bark or synthetic vines to create vertical and horizontal perches. Avoid sharp decorations or untreated wood that may harbor pests.
How frequently should I clean a custom acrylic mantis enclosure?
Basic cleaning should be done once per week, with daily spot cleaning of food remnants or debris. Full substrate replacement and disinfection are recommended every 2 to 4 weeks to prevent mold and bacteria buildup.
What considerations are important when setting up the lighting for a mantis enclosure?
Mantids do well with ambient room lighting or low-wattage LED strips. Ensure that lighting does not overheat the enclosure or create excessive glare. If natural light is limited, provide a day/night light cycle of around 12 hours each.